Terrain Tutorial Part 1: Generating Basic Terrain and Importing to Unreal
Hey guys, I know it has been a while but here is a tutorial on how to make an easy desert map using Unreal Engine 4 and TerreSculptor, both of which are available for free. This is a map for a school project and thought it would make a good tutorial for any beginners out there. This map is fairly large as well as realistic looking and all done in less than 30 minutes.
First up lets open Terresculptor to generate the terrain shape before we import it to unreal. For those if you who do not know about this software I would definately recomend it. It is similar to World Machine but much simpler to work with. It has many less bells and whistles but the main reason I am using it is because unlike the free version of World Machine which has a max export resolution of 512x512, the free version of TerreSculptor can export a resolution of 2048x2048. In case you are not aware of how terrain generation works let me give you the simplified version. There programs use complex math to generate realistic terrains and then apply erosion of you wish it. Once you are happy with what you have you can export your terrain as a height map. This is a grey scale image that once imported into a game engine will tell it how your terrain should look, but enough of this explainging, lets get down to the real reason why you are here.

First off lets open up Terresculptor and change a few things in the settings. Usually you want a height map to be a power of 2 but for some odd reason Unreal uses different dimensions. Luckily for you TerreSculptor has these built in, you just have to enable them. Once you have downloaded and installed your software go ahead and start it up. Once that is done go to tools and click on settings which is at the bottom. Once in settings click on the tab labeled "Dimensions" and click the checkbox next to "UDK Landscape" so that the the Unreal terrain dimensions will be available when creating a new project. As some if you may have noticed, I have all other options unchecked. I have done this because at the moment I am only working with Unreal at the moment and don't want to bother with picking my dimensions out of way more options. If you like you can do the same as me or leave it as is. Once you have things as you would like them click OK and we can begin.

Now that we have that out of the way it's time to get to work. Go to "File" and click "New Project" to get started. Next click on the drop down menu next to where is says Size and under UDK we will be choosing 2017x2017 for this project. This will give us a pretty big map to work with. Once you have done this go to what should be the right most of the options on your toolbar which is colorset and under this select Desert. This does no really do anything as far as our game goes but since we will be creating desert, it will give us some idea of what our terrain will look like once imported into Unreal and we apply our materials to the terrain (you will have to reset these colors every time you generate a new terrain). With this out of the way go to Generate and chose the Perlin Noisemap Generator. This should bring up a window with many options but we are only going to use a few. One of the reasons why I think a desert is a good project for a beginners at this is because of its simplicity. First off click the drop down next to Presets and select "Mounds" to give us the general shape of our map. After this in the Heightfield section got to Gain and change this value to 5. This will ensure that our map will be flatter and look more like dunes rather than small mountains. Once done with this click on and you should get something like the picture below.

Now it is time to Export this map so we can use it in Unreal. To do this go to File and choose Export Terrain. Once thing to remember is that heightmaps are always in either .raw or .r16 format so make sure that you are exporting in one of these 2 formats. I personally prefer .raw since I have found that it is compatible with more software than .r16 but that is just my personal experience. Once you have done that you are good to go ahead and export your terrain.

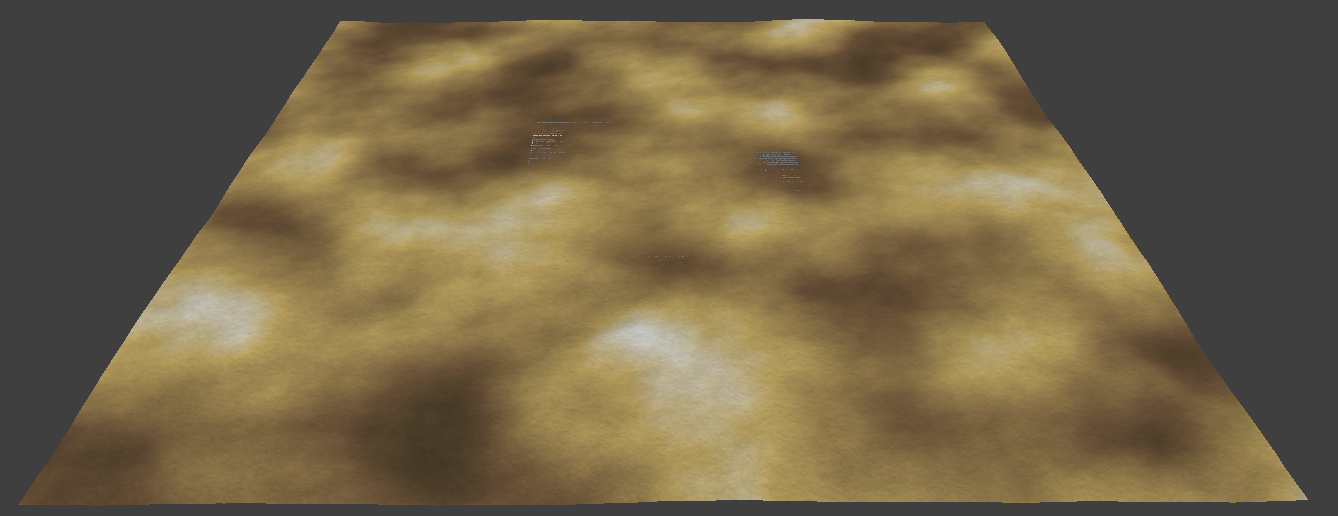
Once exported, start up Unreal and open a new project or an existing once if you wish to do that. Once you have your project open you can either go into your Modes pane and click on Landscape (it's the third tab with the icon of a mountain) or press "Shift + 3" to go there. Once there you should see a section called New Landscape and the first thing you want to do is click on Import from File. This should change some of the things you see below it and give you the option to load a pre-made heightmap in your files. Once you have selected you heightmap you will want to change the scale a bit. The X and Y can both stay at 100 but I would recommend changing the Z scale to a number in the range of 15 to 25 depending on how tall you want your dunes to be. You can use a value outside this range if you wish, just experiment with it to see what looks good to you, here is a picture of what my import settings look like. Once you have the settings to your liking click Import in the bottom right corner and there you go. I will be posting part 2 of this tutorial soon showing how to create a custom material to apply to your sandy terrain.
Here are the links to download Unreal and TerreSculptor.


No comments :
Post a Comment